You can get a set of pre-cut 4″ x 4″ Roscolene filters from EducateYourself.org (only $22.00 at the time of this writing), cut frames for them out of index folders or other card stock, and staple the filters into the frames.
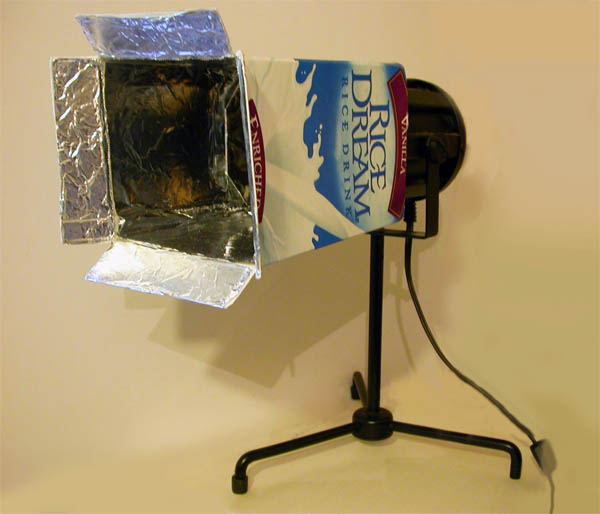
You need to find a desk lamp that is about 4″ across – about the size that an empty milk carton or Rice Dream carton will slip over. (If its a little loose, you can build up the sides of the sliding edge by gluing some cardboard inside the edge of the carton.)
This particular lamp is modeled after a theatrical light, so it has four flaps that open and close, which I covered with aluminum foil for better light reflection. ( You don’t need flaps, these are just there for fun.
If you don’t have a small lamp on hand, lamps like this can often be found at garage sales or in second-hand stores. Any portable lamp about the size of a milk carton will do nicely.
1. First I covered the flaps with aluminum foil:
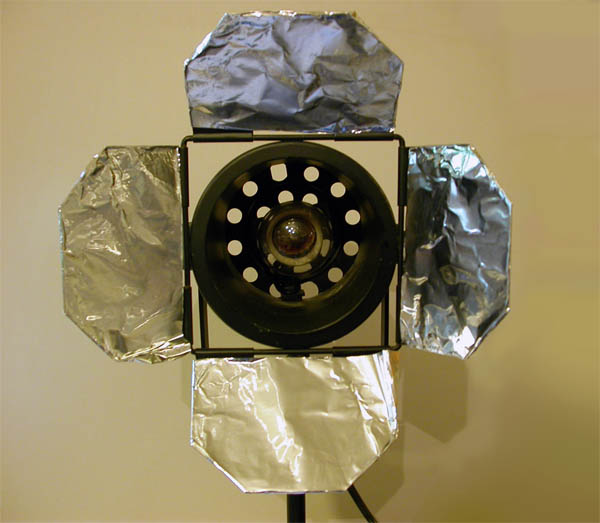
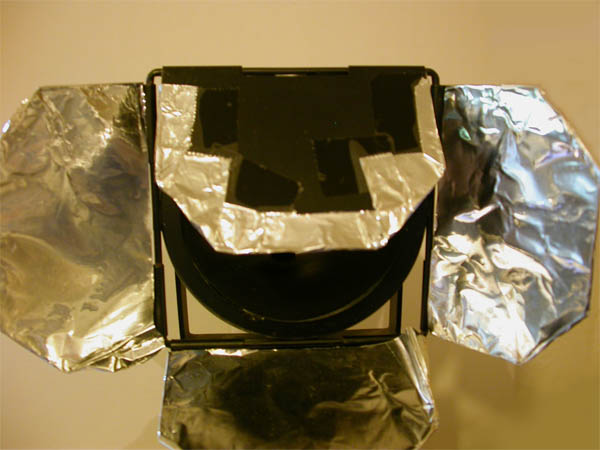
The foil is taped to the back of the flap:
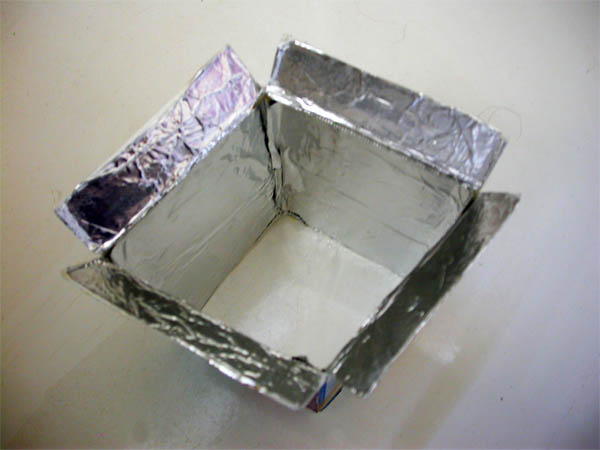
2. Cut the ends off the carton (but leave some flaps on one end). Then line the washed and dried carton with aluminum foil, gluing it down with a light coat of white glue. Be sure to leave 3/4 to one inch flaps on one edge of the carton to have something to pin the color gel to:
3. Attach the color gel with a clothespin or binder clip and you’re ready to tonate:
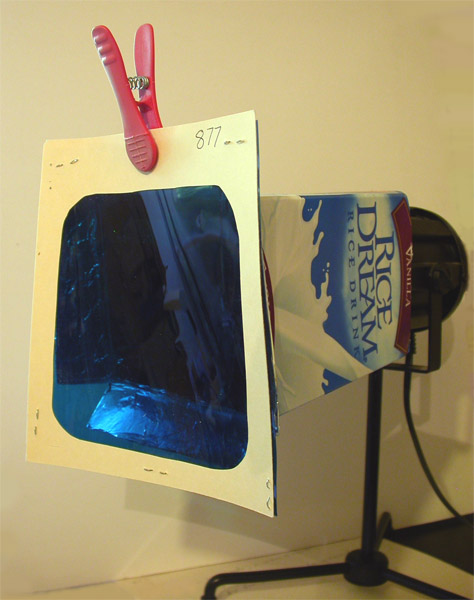
You can remove the sleeve and fold it flat for storage when needed, (although most of us die-hard spectro-chrome enthusiasts never put our lamps away)!
Have a gooseneck lamp?
That works just as well. Here’s how to make a gooseneck lamp sleeve. It’s pretty much the same process, but the finished product just slips over the round lamp.

Cool idea. I also used a cardboard box but not aluminum foil.